- de
- en
En:vpn:linux
Table of Contents
OpenVPN via Networkmanager, GUI
If you want to use the Linux Networkmanager to connect to our OpenVPN service, you have to download the profile and the certificate files first. You can learn how to do that in the following document:
How to obtain OpenVPN profile data
Please be advised that this procedure will only be available to you if you have OpenVPN support for Network Manager installed. If you are using Ubuntu, the necessary software packet is called “network-manager-openvpn”.
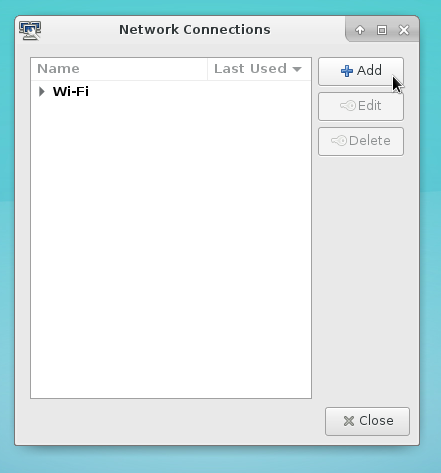
First, open the Network Manager configuration dialog. Normally you can find it in your system settings area of your favorite desktop environment. Add a new profile:
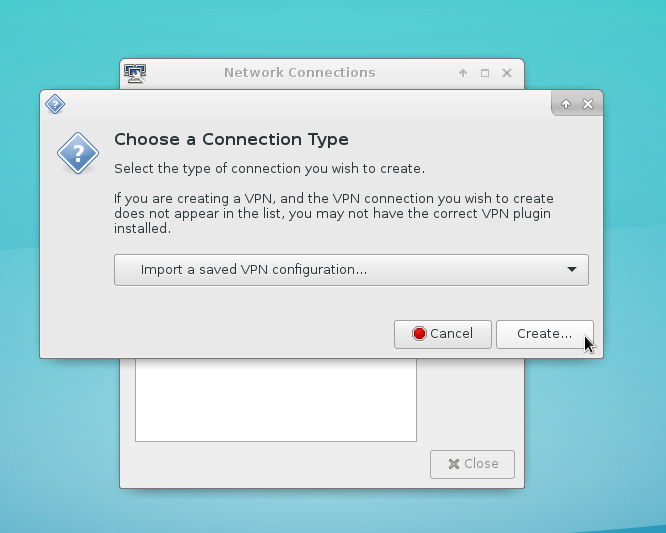
Select “Import a saved VPN Configuration”:
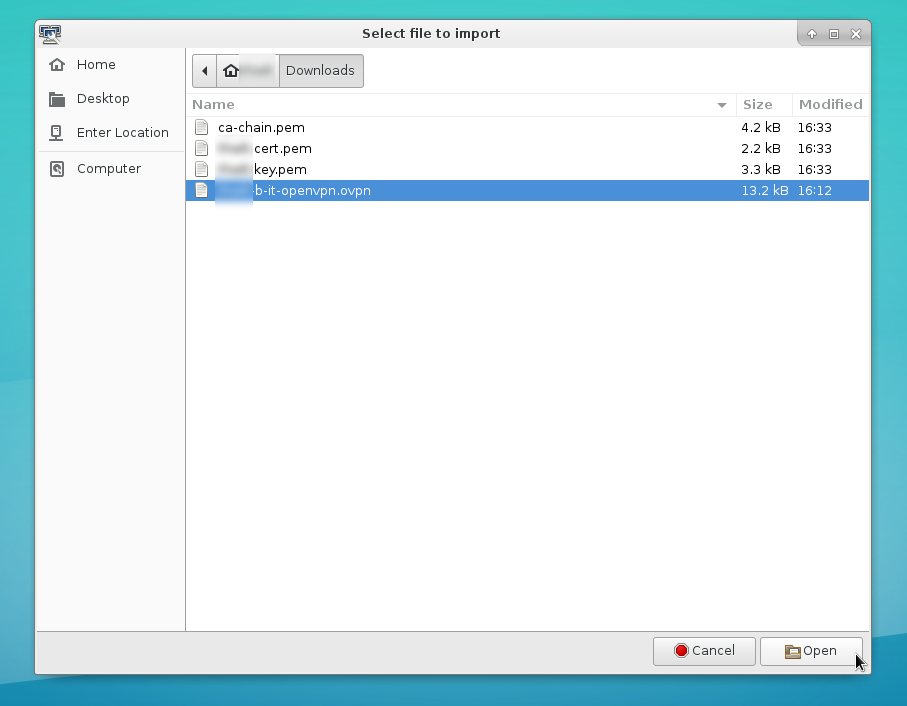
Now choose the file which ends with ”.ovpn”:
In the next dialog, enter the certificate, the ca-chain, the private key file and its passphrase in the corresponding fields. Click on save and activate the connection via the little networkmanager icon in your system tray area.

The connection should now be established:

OpenVPN via Networkmanager, Console
If the import function in your network-management applet is missing, you can import the profile by hand over a terminal and this command:
$ sudo nmcli connection import type openvpn file /path/to/your.ovpn
After that the profile should be available in almost all available NM-Applets. If not, you can utilize a terminal to setup the connection, too:
$ nmcli connection up <identifier>
(The identifier depends on the profile filename, the import function did output the identifier)
OpenVPN, manual
Utilizing the official OpenVPN Client you can setup a VPN Connection manually by calling the executable (with a privileged account of course), using only the profile as the sole parameter:
# openvpn /path/to/your.ovpn
As long as the executable is running, the connection will be retained. If you press <Ctrl>-C, the connection will be shut down.