- de
- en
En:vpn:windows
Table of Contents
OpenVPN Configuration for Windows
General Information
The Configuration of OpenVPN is mostly similar for the different versions of windows.
We will document here a method of installation which features the official OpenVPN GUI from the OpenVPN Project. As it is the nature of most free software projects, there are other methods/Clients available, you are free to use them as you see fit, as long as you will not disrupt our services in any way.
You are of course encouraged to read the OpenVPN documentation, which is located at the official OpenVPN Project Site.
Before being able to connect to our VPN Service, you will need your retrieve your personal OpenVPN configuration profile, which will contain all necessary client settings and your personal identification in form of a user certificate. Please read this page for more information how to obtain this profile:
Client Installation
First you have to download the client software. You can find it on this page:
OpenVPN Project Site - Downloads
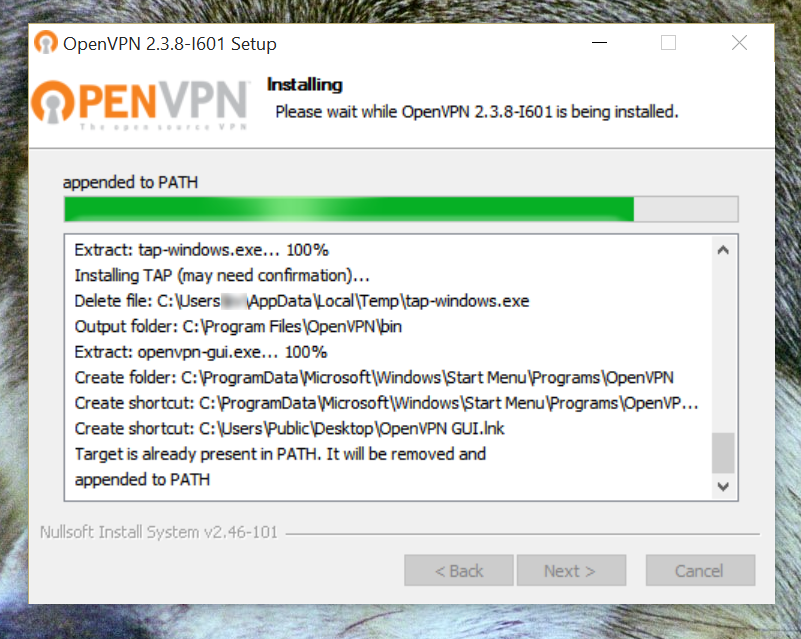
Always choose the most recent package which fits your personal windows version. The package contains everything you will need. Install the package using the default settings.
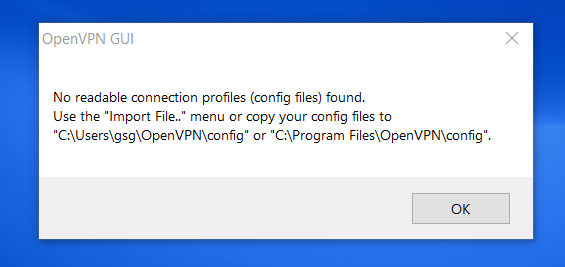
Now start the OpenVPN GUI via the start menu. If you are using OpenVPN for the first time, the Client will present you with the following informational dialog - which you can safely disregard, as we will address the mentioned issue in the next step and the client continues to run afterwards.
As the Client will alter the system routes, it will require administrative privileges to achieve that goal. IF you experience problems while connecting using your valid openVPN Profile and see error messages like “Access denied” inyour connection log somewhere, you have to quit the OpenVPN GUI, open the start menu, enter “OpenVPN”, right-click the OpenVPN GUI Icon, and select “Start as Administrator”. the GUI will then be started with the necessary privileges, you will be asked to verify this again shortly after starting the GUI. To make this change permanent, please refer to the section “Permanent administrative rights for the client” further below.
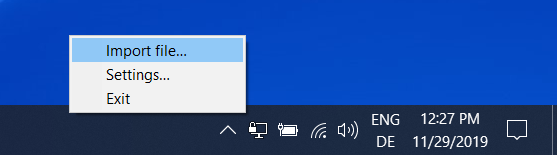
You will find a new icon in the system tray in direct proximity to the system clock in the lower right of your screen. right-click on it and click on “Import”:
Select the profile with your connection data in the following file selection dialog. then, search the icon in the taskbar again, klick it with the right mousebutton and select “connect” in the popup-menu:

Now the connection window will open, presenting to you the logged events of the connection attempt. During this process, a dialog will pop up and ask for your password. Just use the same password there you used to login to the user management interface while obtaining your profile:

If you used the correct password, the connection will be established, turning the icon in the system tray first yellow, then green:

If anything goes wrong, please send us the log file of the last connection along with a general description of the problem you have encountered to gsg@cs.uni-bonn.de. You can access the last log file through right clicking the OpenVPN GUI icon in the system tray and selecting “Log Information”.
Permanent administrative rights for the client
You can assign permanent administrative rights to the client invocation, if you are using a recent Version of Windows, as long as it features an activated User Access Control (UAC), which is the default for stand-alone installations from Windows 7 upwards. To achieve this, you have to check the “administrative rights” checkbox in the Compatibility Settings of the openVPN client. We will show you how to achieve this step by step with some more screenshots below.
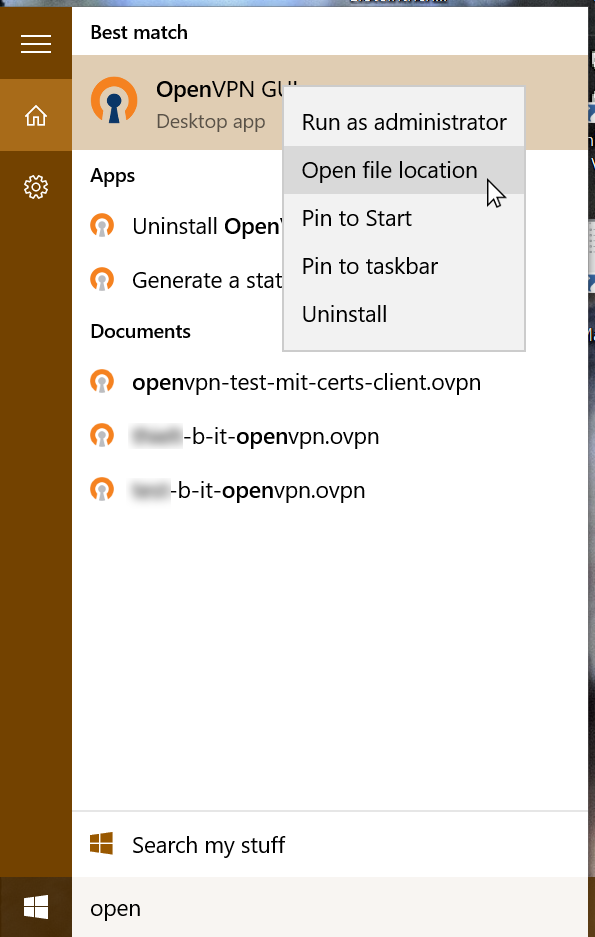
* Step 1: Open the start menu and locate the OpenVPN GUI Icon either through entering a search with the keyboard or by navigating the program folders. right-click on it and select “Open File Location”:
* Step 2: Locate the OpenVPN GUI Icon in the freshly opened file explorer window. Right click on it and select “Properties”:

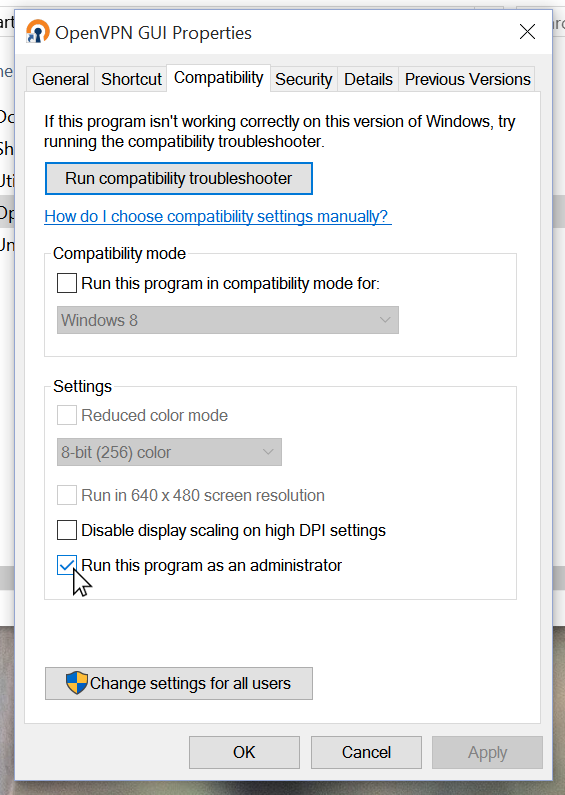
* Step 3: Select the “Compatibility” Tab. Locate the checkbox which is labeled “Run this program as Administrator”. Activate this checkbox and click “OK” to save these settings.
Now you can use the start menu icon of OpenVPN GUI to start the OpenVPN Client, without explicitly giving it Administrator rights. You still have to verify if it should get them *after* starting the client, which is - btw.- a feature, not a bug.